
Homes need regular upkeep. While professionals are available, many people choose to tackle home improvement tasks themselves. This approach saves money and gives you control over the results.
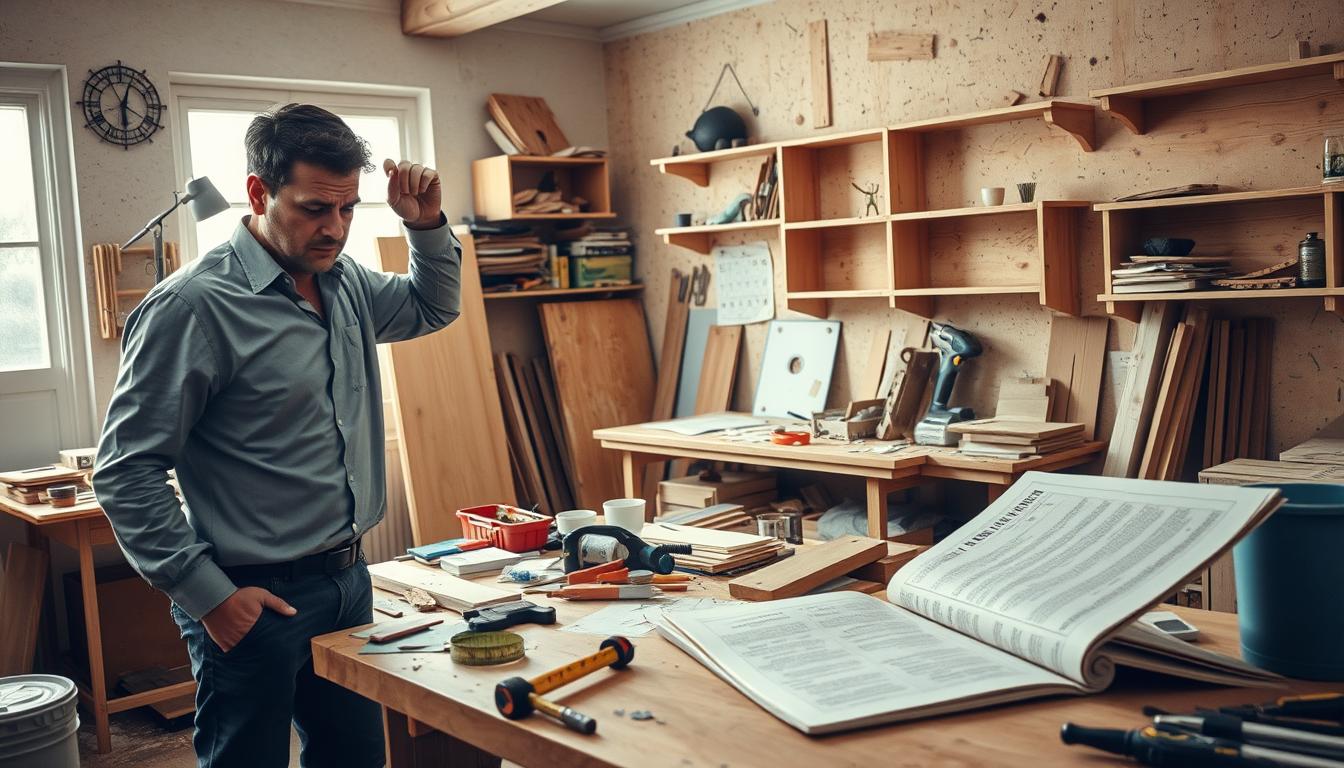
Starting a project without the right knowledge can lead to trouble. Some errors are obvious right away. Others might not show up until much later, after the work seems finished.
Avoiding these costly mistakes requires good preparation. Understanding potential problems before you begin is the key to a successful outcome. This is true for both new and experienced DIYers.
This guide will help you spot and sidestep frequent pitfalls. Our goal is to equip you with the knowledge for smoother, more effective projects.
Key Takeaways
- Many homeowners choose DIY projects to save money and gain hands-on experience.
- Lack of preparation is a primary cause of project failures.
- Some errors are immediate, while others cause slow, delayed problems.
- Awareness of potential issues is crucial before starting any task.
- Both beginners and seasoned DIYers can benefit from reviewing frequent errors.
- Successful home improvement depends on planning, not just fixing mistakes later.
Recognizing Common DIY Mistakes
Recognizing potential problems before they escalate is crucial for any successful home upgrade. Many homeowners begin tasks without spotting early warning signs that could save them significant trouble later.
Identifying Red Flags in Your Projects
Watch for subtle clues during your work. Uneven surfaces, improper material behavior, or tools not performing as expected often signal deeper issues. These indicators frequently appear before major problems develop.
Taking adequate time for assessment prevents frustration. Rushing through initial stages typically leads to compounding errors that become difficult to correct.
How Inexperience Leads to Overlooked Errors
Beginners often miss critical details that experienced eyes catch immediately. This knowledge gap causes what some call “Superman syndrome” – tackling complex tasks beyond current skill levels.
| Experienced Approach | Beginner Tendencies | Potential Outcome |
|---|---|---|
| Multiple test runs | Direct to final execution | Early error detection vs. complete rework |
| Tool calibration checks | Assume tool accuracy | Precision work vs. measurement errors |
| Progressive skill building | Ambitious first attempts | Steady improvement vs. project abandonment |
“Honest self-assessment before starting saves more projects than expert repair skills after failures occur.”
Evaluate your capabilities realistically. Some endeavors genuinely require professional assistance. Recognizing this early prevents a lot of wasted effort and resources.
Planning and Preparation for DIY Success
Before picking up any tools, establishing a comprehensive roadmap ensures project success. Proper groundwork separates smooth renovations from frustrating experiences. This phase determines your entire home improvement journey.
Developing a Detailed Project Plan
Create a step-by-step blueprint for your work. Include accurate measurements and realistic timelines. Research materials and techniques thoroughly before starting.
List every tool and supply needed. Account for potential delays in your schedule. This preparation prevents mid-project surprises that derail progress.
Budgeting, Permits, and Material Quality
Set aside funds for unexpected issues during the job. Local permits protect your investment and ensure safety compliance. Contact building departments to understand requirements.
Choose materials that balance cost and durability. Thin drywall might save money initially but fails for soundproofing. Quality materials prevent frequent repair needs over time.
Investing in proper supplies from the beginning saves money long-term. Your house deserves materials that withstand daily use for years.
Selecting the Right Tools and Techniques
Proper tool selection separates amateur attempts from professional-grade results. Using the correct equipment ensures your work progresses smoothly and safely. The right stuff makes all the difference in home improvement outcomes.
Avoiding Low-Quality and Incorrect Tools
Quality tools deliver better performance and last longer. Cheap equipment often fails when you need it most. Investing in professional-grade stuff protects your house from damage.
Using the wrong bit size can strip screws and ruin materials. Research each project to identify exactly what you need. Don’t make do with whatever happens to be available.
Testing Equipment for Accuracy
Always verify your tools before starting work. Measuring devices require regular calibration checks. Test stud finders and voltage testers in known situations.
Compare results against reliable references. This simple step gives credit to proper preparation. Accurate equipment prevents costly rework and ensures safety.
| Quality Approach | Budget Approach | Result Comparison |
|---|---|---|
| Professional-grade tools | Discount store equipment | Long-term reliability vs. frequent replacement |
| Correct bit for each task | One-size-fits-all mentality | Clean fastening vs. stripped materials |
| Pre-use accuracy testing | Assume tools work correctly | Precision results vs. measurement errors |
| Rental for specialized needs | Improvisation with wrong stuff | Proper technique vs. potential damage |
Choose between purchasing and renting based on frequency of use. Specialized tools often make more sense to rent. Your investment strategy should match your project goals.
Avoiding Common Pitfalls in Technique
Technical execution separates successful projects from those requiring costly repairs. Many enthusiastic homeowners master the basics but stumble on finer application details.
One frequent error involves over-tightening connections. People often think tighter means better, especially with plumbing. This can create hidden stress fractures that cause failures weeks later.
Over-Tightening and Its Hidden Dangers
Stop tightening once your connection becomes watertight. Additional force damages threads and materials. This simple restraint prevents many future leaks.
For bathtub caulking, always fill the tub with water first. A full tub sinks slightly under weight. Caulking it empty strains the seal when used.
Proper Caulking and Finishing Methods
Painter’s tape helps create clean lines but isn’t magical. You still need proper brush technique. Paint can bleed under tape if applied too thickly.
Always clean surfaces before painting. Dust from sanding drywall or tile creates a fine film on walls. This causes bumpy finishes and peeling paint.
When cutting openings for electrical outlets, measure twice for accuracy. Account for the saw blade’s kerf width. This ensures your drywall or tile piece fits perfectly around switches.
Ensuring Safety in Every DIY Project
The most critical component of any hands-on renovation isn’t found in your toolbox. It’s the mindset of prioritizing well-being and property protection above all else. A single oversight here can have serious consequences.
Shutting Off Utilities to Prevent Accidents
Always locate and turn off the water and power supply to the area you’re working on. This is non-negotiable for any task involving plumbing or electrical systems. A simple slip with a wrench can unleash a damaging flood.
Working on wiring that hasn’t been confirmed dead is extremely dangerous. Taking this minute to shut things off prevents disasters, even on small jobs. It’s a fundamental step in any comprehensive DIY safety guidelines.
Using Painter’s Tape and Protective Gear Correctly
Proper safety equipment is essential. Safety goggles protect your eyes from debris when using power tools. Wear gloves to handle sharp materials and a hard hat if working under scaffolds.
Ensure good ventilation when painting or using chemicals. Avoid loose clothing that could get caught in machinery. Remember, ladder accidents send over 164,000 people to emergency rooms each year. Always secure your ladder and work carefully.
Handling Measurements, Cuts, and Installations
Precision in measurement and cutting transforms amateur efforts into professional-looking results. This stage demands careful attention to avoid costly rework.

The old saying “measure twice, cut once” remains vital advice. Cutting material too short wastes both supplies and effort. Always cut slightly long—trimming down is simpler than adding material back.
Mastering the “Measure Twice, Cut Once” Rule
Double-check every measurement before making your cut. This simple habit prevents one of the most frustrating errors in home improvement. Taking extra time here saves significant rework later.
Professional contractors understand this principle well. They know that rushing measurements leads to compromised results. Your finished project deserves the same careful approach.
Understanding the Kerf and Accurate Plate Cutouts
The kerf refers to the width of material removed by your saw blade. A standard 10mm blade eliminates 10mm of wood when cutting. This missing material affects your final dimensions.
Position your blade on the waste side of your measurement line. This ensures the kerf doesn’t reduce your usable piece. Proper positioning gives credit to your careful planning.
Before drilling into any wall, use a detection tool. Hitting pipes or wiring can turn a simple job into an emergency situation. This precaution seems like extra work but prevents disaster.
| Proper Technique | Rushed Approach | Final Outcome |
|---|---|---|
| Double verification of measurements | Single quick measurement | Perfect fit vs. material waste |
| Account for blade kerf width | Ignore saw blade thickness | Precise dimensions vs. sizing errors |
| Wall scanning before drilling | Assume wall is clear | Safe installation vs. potential damage |
These techniques ensure your work meets professional standards. They help you avoid the types of errors that complicate home projects. Your living spaces will benefit from this careful approach.
Conclusion
The journey from project conception to completion demands strategic thinking and practical wisdom. Proper preparation transforms ambitious ideas into achievable home improvements that stand the test of time.
Honest skill assessment prevents frustration and wasted effort. Some tasks genuinely require professional expertise. Recognizing this early saves both resources and potential disappointment.
Investing extra time in planning pays dividends for years. Rushing through a job often leads to costly repairs later. Methodical execution ensures durable, quality results you can take pride in.
Approach your next DIY project with confidence, armed with awareness of potential pitfalls. The right combination of planning, proper tools, and patience creates home enhancements that deliver lasting satisfaction.